Menu
- Home
- Peppermint Straw Tree Ornaments Creative Activity
peppermint straw tree ornaments


intro:
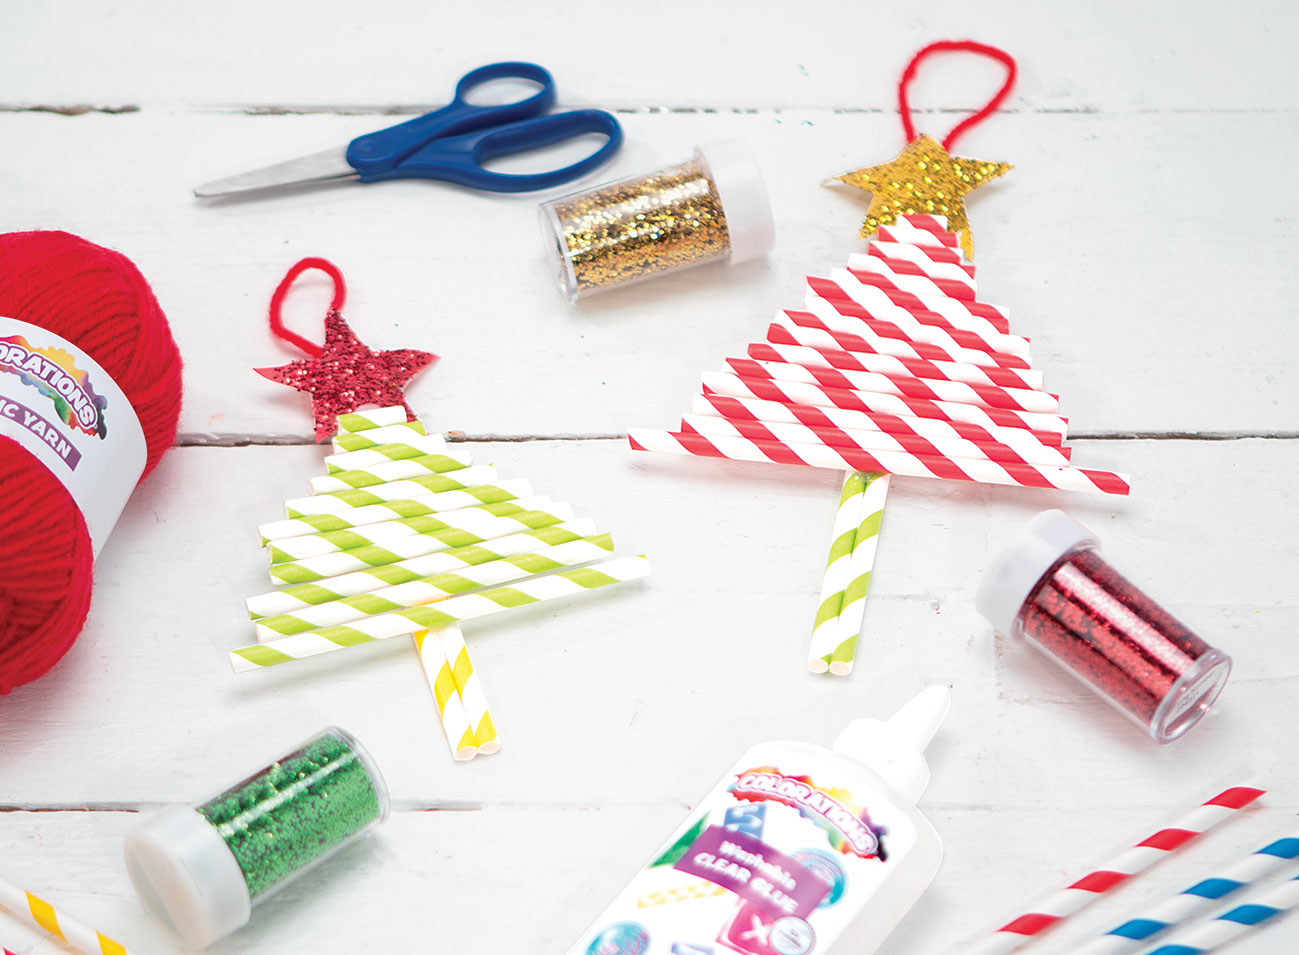
Create colorful Christmas trees while getting early practice with basic length and measurement skills. Bright, striped art straws make for a unique holiday design. Add a star on top and you've got a perfect holiday ornament!
set up ideas:
You may use any straws for this activity, but our striped art straws add a peppermint-like aesthetic to the classic holiday tree shape.
let's get started
Creating these cute ornamental trees is a breeze! All you need to get started are straws, scissors, construction paper glue and yarn. You may also wish to use tape instead of glue to add a loop of yarn for hanging.
step 1
Choose how large you want the base of your tree to be, and then cut several straws into progressively smaller pieces until you get to the smallest piece that you want.
Choose how large you want the base of your tree to be, and then cut several straws into progressively smaller pieces until you get to the smallest piece that you want.
step 2
Glue two whole straws together to form the trunk and then begin gluing the cut straws in order. Allow the glue to dry.
Glue two whole straws together to form the trunk and then begin gluing the cut straws in order. Allow the glue to dry.
step 3
Cut a star shape out of construction paper, add glue and cover with glitter. Allow the star to dry.
Cut a star shape out of construction paper, add glue and cover with glitter. Allow the star to dry.
step 4
Glue the star to the top of the tree. As the glue dries, create a loop of yarn and glue or tape it to the back for easy hanging on a Christmas tree or anywhere.
Glue the star to the top of the tree. As the glue dries, create a loop of yarn and glue or tape it to the back for easy hanging on a Christmas tree or anywhere.
To emphasize STEM elements of this activity, introduce vocabulary terms like greater than, less than, longer, shorter and equal to. Discuss length measurement and ask the children to point out the longest and shortest pieces. Ask whether they have any straw pieces that are equal in length.
It may help to cut your largest and smallest pieces first, and then fill in all the in-between sizes. You may also wish to cut the trunk of your tree if you find that it is very long.
 Follow up Activity
Decorate a holiday tree in your room using each of the children's tree ornaments. Add simple materials like pom-poms and tissue paper to fill out the tree.


